
Deck Building Permit Requirements and Inspection Steps
Understand deck building permit requirements and inspection steps before you build. Call (833)-700-4293 to connect with pre-vetted local contractors and avoid costly delays.

By Julia Hayes
Learn more about General Contracting for guides, costs, and what to expect.
Compare General Contracting Pros Near You

Enter your ZIP code to compare top-rated local professionals and request free quotes.
You are standing in your backyard, picturing weekend barbecues and lazy afternoons on a brand new deck. Before you buy the first board, you need to answer a critical question: does your project require a permit, and what inspections will follow? Skipping this step can lead to fines, forced removal, and trouble when you sell your home. This guide walks you through deck building permit requirements and inspection steps so you can plan with confidence and avoid costly surprises.
When Does a Deck Need a Permit?
Not every deck requires a permit, but the exceptions are narrower than most homeowners assume. Local building departments typically trigger permit requirements based on height, size, attachment, and intended use. A small, ground-level platform might qualify for an exemption, while anything attached to your house almost always needs approval. Understanding these thresholds helps you determine whether you can proceed with a simple project or need to submit plans for review.
Most jurisdictions use a combination of measurements to decide. A deck that sits less than 30 inches above grade and covers fewer than 200 square feet may be exempt in some areas, but these numbers vary widely. If the deck is attached to a dwelling, serves an exit door, or includes stairs, railings, or a roof, expect a permit requirement. Even a low platform can trigger review if it blocks a required emergency escape path or encroaches on a setback.
Here are the common triggers that push a deck project into permit territory:
- Height: Decks more than 30 inches above adjacent grade typically require permits and guardrails.
- Size: Structures larger than 200 square feet often need approval, though some cities set the limit at 120 square feet.
- Attachment: Any deck connected to the house usually requires a permit because of structural and fire-safety concerns.
- Location: Decks in front yards, on corner lots, or within setback zones face additional scrutiny.
- Amenities: Stairs, ramps, hot tubs, roofs, and screening walls add complexity that mandates review.
If your project hits any of these triggers, assume you need a permit. When in doubt, call your local building department. A five-minute phone call can save you thousands in rework and penalties. Many homeowners also find that hiring a qualified contractor simplifies this step, because experienced builders know the local rules and can handle the paperwork on your behalf.
Plot Plans, HOA Approvals, and Setback Rules
Before you apply for a building permit, you need to understand where your deck can legally sit. Property lines, easements, and utility corridors all constrain placement. A plot plan, sometimes called a site plan, shows your lot boundaries, the proposed deck footprint, and distances to neighboring properties. Building departments often require this drawing as part of the permit application.
Setback rules dictate how close a structure can come to property lines, streets, and other buildings. Typical side and rear setbacks range from 5 to 15 feet, but they can be larger in front yards or in neighborhoods with stricter zoning. If your dream deck violates a setback, you may need a variance, which involves a public hearing and additional fees. A surveyor or civil engineer can prepare an accurate plot plan, and many deck builders include this service in their quote.
Homeowners associations add another layer of review. Even if the city approves your permit, your HOA may have architectural guidelines covering deck materials, colors, height, and visibility from the street. Submitting to the HOA early prevents conflicts later. Keep in mind that HOA approval does not replace a building permit, and a building permit does not override HOA rules.
To navigate these overlapping requirements, gather the following documents before you apply:
- A current survey or plot plan showing property lines and easements.
- HOA architectural guidelines and a copy of your subdivision covenants.
- Zoning district information from your local planning office.
- Utility locate marks or a clearance letter for underground lines.
Once you have these items, you can design a deck that fits both the law and your lifestyle. If the process feels overwhelming, consider working with a pre-vetted contractor who regularly pulls permits in your area. You can find qualified local contractors at Homes.Contractors to compare options and get expert help with plot plans and setback compliance.
Footing, Framing, and Railing Inspections to Expect
After you secure the permit, the inspection phase begins. Inspectors verify that your deck meets the building code at critical stages, and they must sign off before you cover up work. Missing an inspection can force you to expose completed sections, which is expensive and time-consuming. The exact sequence varies by location, but most decks require at least three inspections: footing, framing, and final.
The footing inspection happens after you dig the holes and place the concrete piers but before you pour concrete or backfill. Inspectors check the depth, diameter, and reinforcement of the footings, as well as the spacing between them. They also confirm that the footing size matches the load requirements for your deck. If you are using deck blocks or surface-mounted posts, the inspector will verify that the soil and drainage conditions allow that approach.
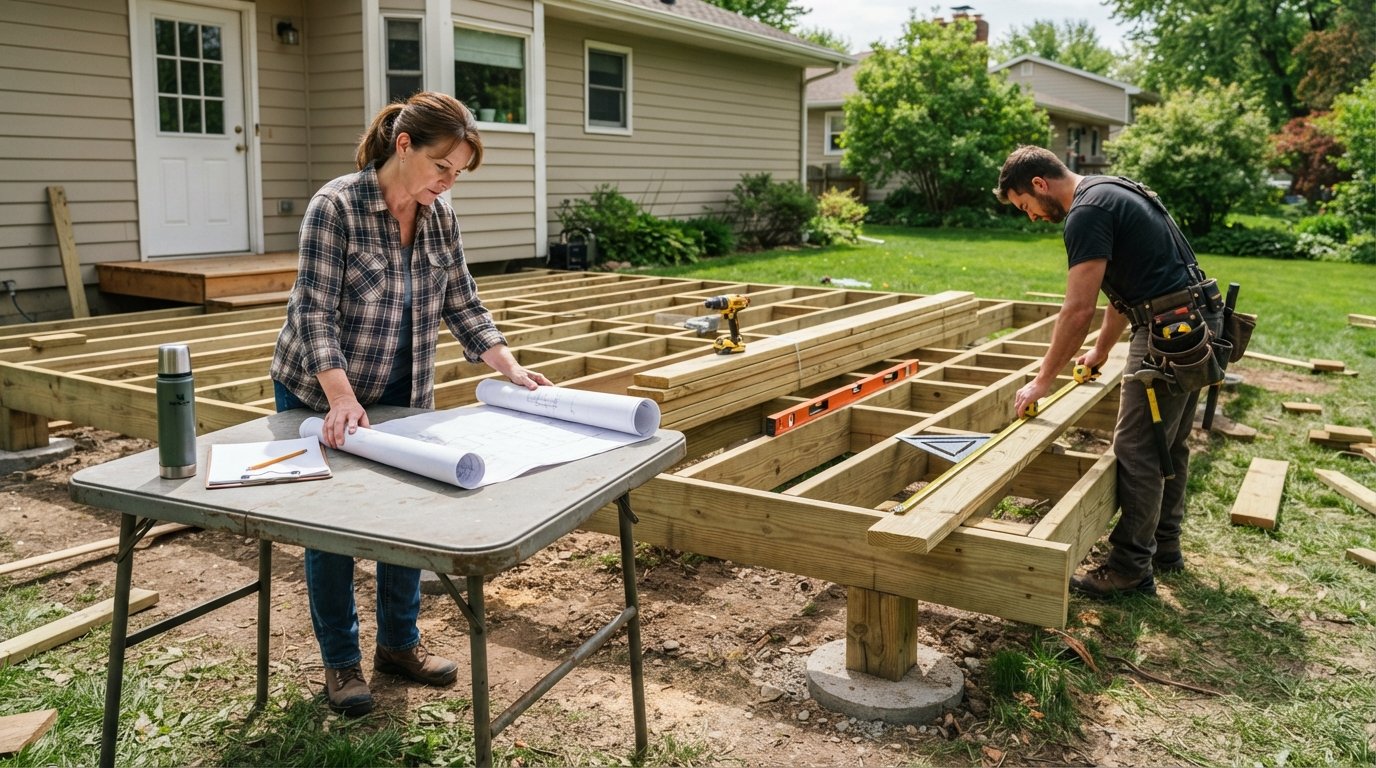
Framing inspection occurs after the joists, beams, and ledger board are installed but before you add decking. The inspector looks at lumber size, span, spacing, fasteners, and connections. The ledger board, which attaches the deck to the house, receives special attention because it must be properly flashed and bolted to resist lateral loads. Missing flashing or undersized hardware can fail inspection and require rework. Railing inspection often happens at the same time, especially if the deck is more than 30 inches high. Inspectors check post spacing, baluster gaps, and rail height to prevent falls.
The final inspection takes place after all work is complete, including stairs, guards, and any electrical or lighting components. The inspector confirms that the deck matches the approved plans and that all previous corrections have been made. If your project includes a hot tub or gas grill connection, separate electrical or plumbing inspections may be required. Always schedule inspections promptly because delays can add weeks to your timeline.
Permit Costs and Approval Timelines
Deck permit costs vary significantly by state, city, and project valuation. On average, homeowners pay between $50 and $500 for a residential deck permit, with some high-cost areas charging $1,000 or more. The fee is usually calculated as a percentage of the project value or based on square footage. For example, a jurisdiction might charge $10 per $1,000 of construction value, so a $15,000 deck would cost $150. Additional fees apply for plan review, variances, and re-inspections.
Approval timelines depend on the complexity of your project and the workload of your local building department. A simple deck with standard plans might receive a permit in one to two weeks. Custom designs, hillside decks, or projects requiring a variance can take four to eight weeks or longer. Incomplete applications are a common cause of delay, so double-check that your submission includes all required drawings, calculations, and forms.
To keep your project on schedule, follow these practical steps:
- Submit a complete application with clear, scaled drawings.
- Respond quickly to any requests for additional information.
- Schedule inspections as soon as each phase is ready.
- Keep approved plans on site for the inspector.
- Budget extra time for weather and inspection backlogs.
Some homeowners try to avoid permits to save money and time, but the risks far outweigh the benefits. Unpermitted decks can be flagged during a home sale, forcing you to pay retroactive fees, fines, or even demolition costs. Insurance companies may deny claims for injuries or damage related to an unpermitted structure. A permit is your proof that the deck was built to code, which protects your family and your investment.
Hiring a Deck Builder Who Handles Permits and Inspections
The easiest way to manage deck building permit requirements and inspection steps is to hire a professional who does it every day. Experienced deck builders know local codes, maintain relationships with inspectors, and can prepare accurate plans that sail through review. They also carry insurance and warranties, which protects you if something goes wrong. When you interview contractors, ask specifically about their permit experience and whether they include fees in their quote.
Look for a builder who offers a turnkey service: design, permit application, construction, and inspection coordination. Some contractors charge extra for permit management, while others include it in the project price. Get a written breakdown so you can compare bids fairly. Ask for references from recent deck projects in your area and confirm that permits were pulled and inspections passed. A reputable builder will have no problem sharing this information.
PlanRemodel.com connects homeowners with pre-vetted contractors across the United States. You can request multiple quotes for your deck project, compare pricing, and choose a professional who handles permits and inspections from start to finish. This approach saves you time, reduces stress, and helps ensure the job is done right the first time.
Before you break ground, verify that your contractor has the proper license and insurance for your state. Ask for a copy of the policy and confirm the license number with your state licensing board. A little due diligence upfront prevents major headaches later.
Staying Organized Through the Permit and Inspection Process
Deck projects involve many moving parts, and staying organized is key to a smooth experience. Create a folder, digital or physical, for all permit documents, approved plans, inspection reports, and receipts. Note important dates, such as application submission, permit issuance, and inspection windows. Set reminders for follow-up calls if you do not hear back from the building department within the expected timeframe.
Communicate openly with your contractor and inspector. If you have questions about a correction notice or a scheduling conflict, ask for clarification early. Most inspectors are willing to explain what they need, and addressing issues promptly keeps your project moving. Remember that inspections are not obstacles; they are checkpoints that confirm your deck is safe and built to last.
Finally, keep your homeowners insurance provider informed. Some policies require notification when you add a structure to your property. A quick call can confirm that your deck is covered and that you have adequate liability protection. With permits in hand and inspections complete, you can relax and enjoy your new outdoor space, knowing it meets all legal and safety standards.