
Designing an Outdoor Living Space Renovation Plan That Works
Designing an outdoor living space renovation plan starts with smart structure, budget, and permit choices. Call (833)-700-4293 for vetted contractor referrals.

By Valerie Reed
Learn more about Construction Services for guides, costs, and what to expect.
Compare Construction Services Pros Near You

Enter your ZIP code to compare top-rated local professionals and request free quotes.
A well-designed outdoor living space extends your home's usable square footage, adds resale value, and gives your family a reason to spend more time outside. But the difference between a backyard you love and a backyard you regret often comes down to one thing: the quality of your renovation plan. Homeowners who sketch a few ideas and call a contractor on a whim frequently face blown budgets, permit delays, and layouts that feel cramped or awkward once built. Those who invest time in designing an outdoor living space renovation plan before breaking ground tend to get a finished project that matches their lifestyle, their lot, and their wallet.
This guide walks you through the decisions that matter most: choosing the right structure for your property, sequencing the work so trades don't trip over each other, navigating permits and codes, and selecting materials that survive your local climate. You will also learn how to budget realistically and how to find vetted local pros who can turn your plan into reality. Whether you are dreaming of a composite deck, a stone patio with a fire pit, or a covered pavilion with an outdoor kitchen, the same planning fundamentals apply.
Start With How You Will Actually Use the Space
Before you compare deck boards or browse paver samples, spend a week observing how your household uses the backyard. Do you host large gatherings several times a year, or do you want a quiet corner for morning coffee? Will kids and pets need open lawn to run, or is low-maintenance hardscaping the priority? The answers determine square footage, traffic flow, and whether you need zones for cooking, dining, lounging, or all three. A plan built around real habits will feel natural; one built around Pinterest photos often feels like a stage set that nobody uses.
Map out a simple wish list and then rank each item as a must-have, a nice-to-have, or a future phase. This ranking becomes the backbone of your budget and your construction sequence. For example, a homeowner who entertains weekly might prioritize a built-in grill station and ample seating, while a family with toddlers may put safety fencing and shade at the top. Writing these priorities down also makes contractor conversations far more productive, because you can describe the outcome you want instead of guessing at materials.
Choose the Right Structure for Your Lot and Budget
The three main building blocks of an outdoor living space are decks, patios, and covered structures, and each has distinct strengths and constraints. A deck elevates living space above grade, which is ideal for sloped lots or walk-out basements, and it can be built relatively quickly with wood or composite. A patio sits at ground level and suits flat lots, offering a seamless transition from the house and easy integration with landscaping. Covered structures such as pergolas, pavilions, and roof extensions add shade and rain protection, effectively turning outdoor square footage into a three-season room.
Your lot's topography and drainage often make the decision for you. A yard that slopes away from the house may call for a multi-level deck, while a low, flat yard with poor drainage may need grading and a raised patio. Budget matters too: ground-level patios are often the most cost-effective hardscape, decks vary widely based on height and materials, and covered structures carry the highest price tag because they involve footings, framing, and roofing. Many homeowners combine elements, such as a patio with a pergola overhead, to get shade without the cost of a full roof.
- Deck: Best for sloped lots, walk-out basements, and homeowners who want elevated views or separate levels.
- Patio: Best for flat lots, low-maintenance lifestyles, and seamless indoor-outdoor flow at ground level.
- Covered structure: Best for hot or rainy climates and homeowners who want shade, shelter, and a defined room-like feel.
- Hybrid approach: Best for phased projects, such as a patio now with a pergola and outdoor kitchen added later.
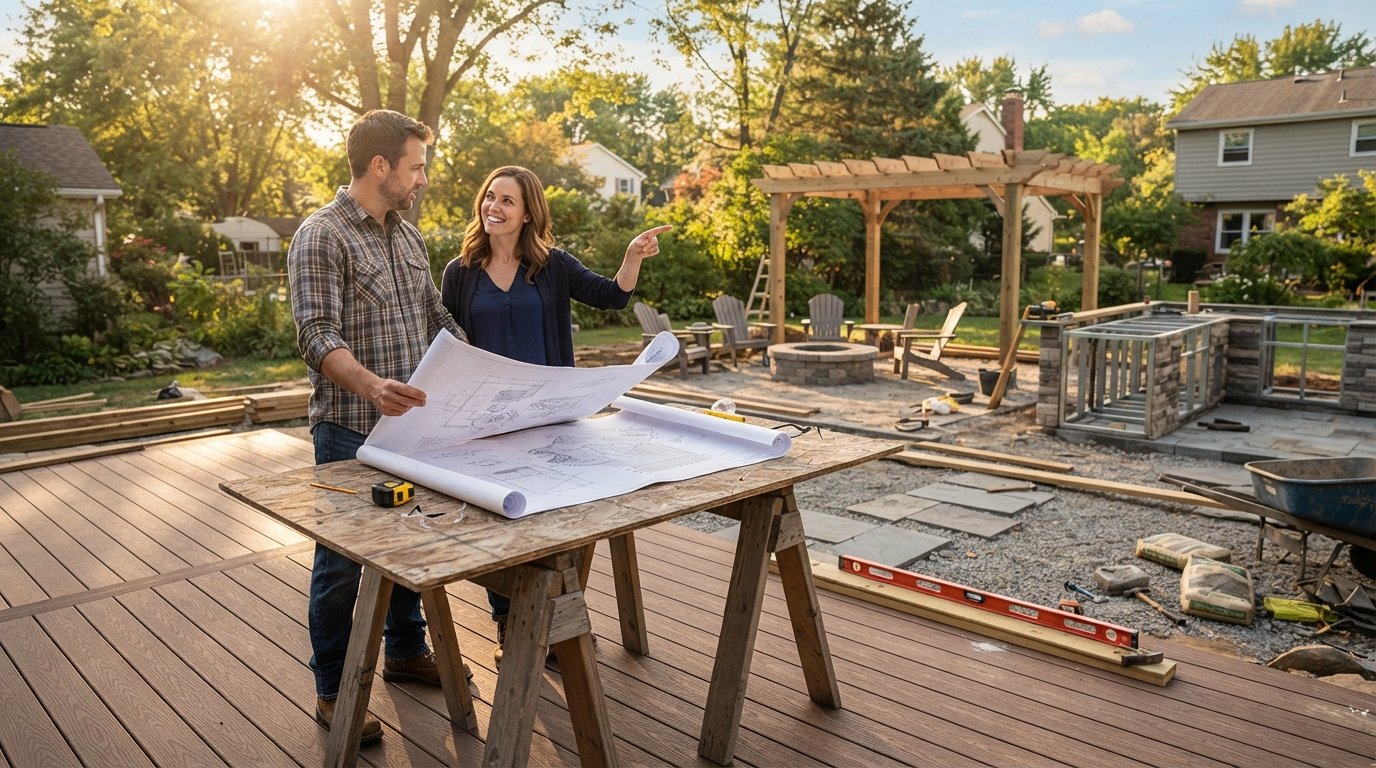
Once you settle on a structure type, sketch a rough layout to scale using graph paper or a free design tool. Mark the house walls, doors, property lines, and any existing trees or utilities. This sketch will be the reference point for every contractor quote you request, and it helps you spot problems early, such as a planned fire pit that would sit directly under low tree branches or a grill station too far from the kitchen door.
Sequence the Work: Landscaping, Hardscaping, and Structures
Outdoor renovations involve several trades, and the order in which they work dramatically affects cost and quality. The general rule is to work from the ground up and from the most permanent elements to the least. Structures and hardscaping come first because they require excavation, footings, and heavy equipment that would destroy finished landscaping. Landscaping and planting come last so that foot traffic, material deliveries, and construction debris do not damage new beds or lawns.
A sensible sequence for most projects looks like this: finalize the design and secure permits, clear the site and mark utilities, install drainage and grading, build structural elements such as decks and pergolas, pour or lay hardscape surfaces, run electrical and gas lines for lighting and kitchens, install outdoor kitchen components and seating, and finally plant, mulch, and restore lawn areas. Skipping ahead, such as planting before a patio is installed, usually means paying twice for the same work.
- Finalize design, budget, and permits.
- Clear the site and locate underground utilities.
- Address drainage and grading.
- Build decks, pergolas, and other structures.
- Install patios, walkways, and retaining walls.
- Run electrical, gas, and water lines.
- Install kitchen appliances, lighting, and furnishings.
- Complete landscaping and lawn restoration.
Share this sequence with every contractor you hire so everyone understands the schedule and dependencies. If you are phasing the project over multiple years, structure the phases so each one is functional on its own. A patio without a pergola still works; a pergola without a patio does not.
Permits, Codes, and HOA Rules You Cannot Ignore
Outdoor structures trigger permit requirements in most U.S. jurisdictions, and the rules vary significantly by state, county, and city. Decks above a certain height, covered structures, retaining walls over a set height, and any project involving electrical or gas work typically require permits and inspections. Fences, sheds, and fire features may also have rules. Skipping permits can force you to tear down work, pay fines, and disclose unpermitted structures when you sell, so verify requirements before you buy materials.
Beyond permits, building codes govern structural details such as footing depth, railing height, stair dimensions, and ledger board attachment to the house. These rules exist for safety, especially for elevated decks that carry people and snow loads. Homeowners associations add another layer, often restricting fence heights, structure colors, and even the type of grill you can use. Review your HOA covenants early, because design changes requested late in the process can derail a schedule.
Your contractor should handle permit applications and inspections as part of the job, but you remain responsible for verifying that permits are pulled. Ask for the permit number and confirm it with your local building department. If a contractor suggests skipping the permit to save time, treat that as a red flag and find another professional. You can learn more about vetting qualified local pros through resources such as Homes.Contractors, a directory that helps homeowners compare pre-vetted contractors for outdoor and remodeling projects.
Pick Materials That Survive Your Local Climate
Climate is the silent factor in every outdoor material decision. In hot, sunny regions, composite decking and light-colored pavers stay cooler underfoot, while pressure-treated wood may require more frequent staining. In wet climates, cedar and composite resist rot better than standard pine, and proper drainage beneath patios becomes critical. In cold climates, freeze-thaw cycles crack porous stone and heave poorly drained patios, so dense pavers, proper base preparation, and frost-depth footings are essential.
Match your materials to maintenance appetite as well as weather. Wood decks demand annual cleaning and periodic sealing; composite decking costs more upfront but needs only occasional washing. Natural stone patios age gracefully but require professional installation; concrete pavers offer a balance of cost, durability, and repairability. For covered structures, cedar and pressure-treated lumber are common, while aluminum and steel frames offer longer lifespans with less upkeep. Outdoor kitchens need stainless steel or marine-grade components to resist rust in coastal areas.
Ask contractors what materials they recommend for your specific zip code and why. A local pro has seen which products fail after five years in your climate and which hold up for twenty. Also confirm warranties: some decking and paver manufacturers require certified installers for warranty coverage, so check before you buy.
Build a Realistic Budget With a Contingency
Outdoor renovation budgets are notorious for creeping upward, so plan for the unexpected from day one. A common guideline is to reserve 10 to 20 percent of the project cost as a contingency for surprises such as hidden rot, poor soil, or utility conflicts. The contingency is not wasted money; it is insurance against stopping mid-project because the budget ran dry.
Break your budget into categories: design and permits, site preparation and drainage, structure, hardscape, electrical and gas, kitchen and appliances, furnishings, and landscaping. Request itemized quotes from at least three contractors so you can compare line by line instead of lump sums. Be wary of quotes that are dramatically lower than others; they often omit permits, drainage, or proper footings. Financing options such as home equity loans or contractor payment plans can spread costs, but read terms carefully and avoid paying large deposits upfront.
PlanRemodel's approach of connecting homeowners with multiple free estimates is a practical way to benchmark pricing before you commit. Comparing quotes helps you spot outliers and negotiate with confidence, and it reduces the chance of surprise change orders later.
Hire Vetted Contractors and Manage the Project
The best plan fails without the right team. Look for licensed, insured contractors with experience in the specific work you need: deck builders for decks, hardscape specialists for patios, and licensed electricians for lighting and kitchen hookups. Ask for references from projects completed at least two years ago so you can see how the work has aged. Verify insurance certificates and check complaints with your state contractor licensing board.
Once work begins, communicate in writing. Keep a shared folder with the contract, permits, change orders, and inspection reports. Schedule weekly check-ins and walk the site regularly. Pay according to milestones, not upfront, and hold a final payment until punch-list items are complete and inspections pass. A well-managed project is boring in the best way: predictable, documented, and finished on schedule.
Designing an outdoor living space renovation plan is ultimately an exercise in matching your lifestyle to your land, your budget, and your local rules. Start with how you live, choose structures that fit your lot, sequence the trades correctly, respect permits and codes, and select materials proven in your climate. With a clear plan and vetted professionals on your side, your backyard can become the most-used room in the house, one built to last through every season.