
How to Prepare for a Home Inspection Before Selling
A pre-listing inspection protects your sale price. Call (833)-700-4293 to connect with pre-vetted local contractors and start your repairs today.

By Andrew Shaw
Learn more about Home Inspection for guides, costs, and what to expect.
Compare Home Inspection Pros Near You

Enter your ZIP code to compare top-rated local professionals and request free quotes.
You have accepted an offer on your home, the closing date is set, and then the buyer's inspector finds a cracked heat exchanger, active termite damage, and a roof at the end of its life. The deal renegotiation that follows can cost you thousands or kill the sale entirely. That scenario is preventable. Sellers who order a pre-listing inspection and address problems on their own timeline control the narrative, protect their asking price, and move to closing without last-minute drama. This guide walks through a practical, room-by-room strategy for how to prepare for a home inspection before selling, including what inspections cover, what they cost, how to triage the findings, and how to hire qualified specialists for structural and systems issues without letting repairs delay your listing date.
What a Pre-Listing Inspection Covers and What It Costs
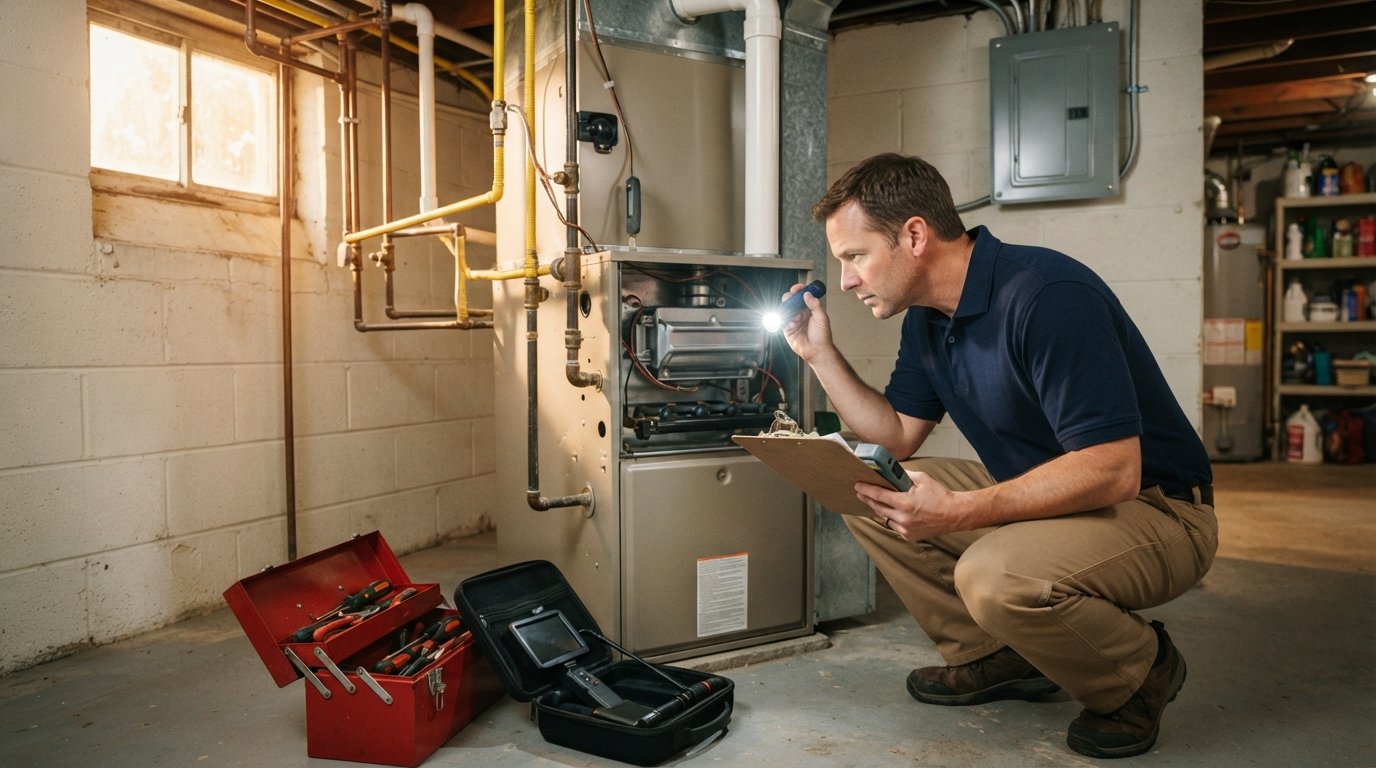
A pre-listing inspection is a buyer-style, full-home evaluation that you commission before your property goes on the market. A licensed inspector examines the visible and readily accessible systems and components of the house and produces a written report with photos and recommendations. The scope typically includes the roof and attic, foundation and crawlspace, exterior siding and grading, electrical panel and wiring, plumbing supply and drain lines, HVAC equipment, water heater, windows, doors, and evidence of moisture intrusion or pest activity. The inspector is looking for safety hazards, material defects, and items that are near the end of their service life.
The cost depends on the size, age, and location of the home, but most U.S. sellers pay a few hundred dollars for a standard inspection. Add-ons such as radon testing, sewer scope, mold sampling, or a separate pest inspection increase the total. Compared with the average price reduction a buyer demands after a surprise finding, the inspection fee is one of the highest-return expenses in the entire sale process. You are essentially paying a few hundred dollars to avoid a negotiation that could cost several thousand.
It also helps to understand what a standard inspection does not cover. Inspectors generally do not open walls, dismantle equipment, or evaluate items that are concealed. Chimneys, septic systems, wells, pools, and underground oil tanks usually require separate specialists. If your home has any of these features, budget for the additional evaluations up front rather than letting the buyer discover an unknown problem later.
Common Findings That Scare Buyers and How to Address Them
Most inspection reports are long, but only a handful of findings actually frighten buyers. Understanding which items carry outsized emotional weight lets you prioritize repairs and disclosures. Structural concerns, water intrusion, roof condition, electrical safety, and HVAC age are the categories that most often trigger renegotiation or a cancelled contract. A buyer can live with a sticky window; they cannot easily live with the fear of a failing foundation or a mold problem behind the drywall.
Here are the findings that most frequently derail deals, along with the typical fix:
- Roof nearing end of life: missing or curling shingles, granule loss, or active leaks. Repair or replace, and keep the contractor invoice for the buyer.
- Water intrusion and grading: damp crawlspaces, stained ceilings, poor downspout drainage. Correct the source, then document the repair.
- Electrical hazards: double-tapped breakers, missing GFCI protection, amateur wiring. Hire a licensed electrician and obtain a permit if required.
- HVAC age and condition: a system past its expected service life or a cracked heat exchanger. Service the unit and disclose its age honestly.
- Pest or wood-destroying organism activity: termite tubes, frass, or rot. Treat the infestation and repair the damage with a licensed pest professional.
After the list is built, sort findings into three buckets: safety issues, active damage, and cosmetic or maintenance items. Safety issues and active damage should almost always be repaired before listing. Cosmetic items are usually better handled through disclosure or a small credit. This triage keeps you from over-investing in a house you are about to leave while still removing the red flags that make buyers nervous.
Repair, Disclose, or Credit: Choosing the Right Response
Not every inspection finding requires a repair. Sellers have three legitimate responses, and the right choice depends on the severity of the issue, your local disclosure laws, your timeline, and your budget. Repairing is best for safety hazards and active damage because it removes the problem and gives you documentation to show buyers. Disclosing is required in most states for known material defects, and a clean pre-listing report makes disclosure far less damaging because you can pair it with a repair invoice or a clear explanation. Crediting is a pragmatic option for expensive items you do not want to manage, such as a roof replacement, where the buyer may prefer to choose their own contractor.
Weigh each item against three questions. First, is it a safety issue or active damage? If yes, repair it. Second, will the buyer's lender or insurer refuse to finance or insure the home because of it? If yes, repair or replace it. Third, is the cost of repair higher than the likely price reduction a buyer would demand? If yes, a credit may be the more efficient path. Document every decision in writing so your real estate agent can present a coherent narrative to buyers.
Disclosure deserves special attention. Most states require sellers to disclose known material defects, and a pre-listing inspection puts you on notice. Hiding a known defect is not an option. The good news is that a seller who proactively inspects, repairs, and discloses builds credibility. Buyers respond well to a seller who says, in effect, "Here is the report, here is what I fixed, and here is the documentation." That transparency often preserves the asking price better than silence followed by a surprise during the buyer's inspection.
Choosing Qualified Specialists for Structural and Systems Issues
Once the report identifies problems, the next step is hiring the right professional for each one. General handymen are fine for minor fixes, but structural, electrical, plumbing, HVAC, and roofing issues require licensed specialists. A foundation concern should be evaluated by a structural engineer, not a contractor who stands to profit from the repair. Electrical hazards need a licensed electrician. Roof and moisture issues need a licensed roofing contractor who can assess flashing, ventilation, and decking, not just the shingles.
Vetting contractors matters as much as choosing the right trade. Verify state and local licensing, confirm current insurance and workers' compensation coverage, ask for references from similar jobs, and get at least two or three written estimates. Be wary of anyone who pressures you to sign on the spot or who cannot produce a license number. For sellers who want to compare pre-vetted local professionals quickly, a directory such as Homes.Contractors can help you find qualified contractors in your area and request multiple quotes, which is especially useful when you are managing several repairs on a tight listing timeline.
Timing the work is its own challenge. Schedule specialists as soon as the inspection report is in hand, because structural engineers and roofing crews often book days or weeks out. Ask each contractor for a written scope, a start date, and a completion date, and build a buffer into your listing plan. If a major repair will take longer than your target listing date, consider whether a credit or disclosure is the better path so the sale is not held hostage by a single project.
Timing the Inspection So Repairs Do Not Delay Listing
The single biggest mistake sellers make is ordering the pre-listing inspection too late. If you list first and inspect second, every finding becomes an emergency that threatens the sale. The better sequence is to inspect before listing, complete the highest-priority repairs, and then go live with a clean report and documentation in hand. As a rule of thumb, start the process at least four to six weeks before your target listing date, longer if the home is older or has known systems issues.
A practical timeline looks like this:
- Weeks 1 and 2: Order the pre-listing inspection and any add-ons such as pest, radon, sewer scope, or chimney.
- Week 2: Review the report with your agent and triage findings into repair, disclose, or credit.
- Weeks 2 to 3: Request quotes from licensed specialists and schedule the highest-priority repairs.
- Weeks 3 to 5: Complete repairs, collect invoices and permits, and take before-and-after photos.
- Week 5 or 6: Stage, photograph, and list the home with the inspection summary and repair documentation ready for buyers.
This sequence gives you leverage. When the buyer's inspector arrives, your home has already been reviewed, the obvious problems are fixed, and the remaining items are disclosed with context. Buyers still negotiate, but they negotiate from a position of trust rather than fear. Sellers who follow this approach routinely report smoother transactions, fewer renegotiations, and faster closings.
Preparing for a home inspection before selling is not about making a house perfect. It is about removing surprises, controlling the timeline, and presenting a property that buyers and their lenders can feel confident about. Order the inspection early, fix what is unsafe or actively damaging, disclose the rest honestly, and hire licensed specialists for the systems that matter. Do that, and the inspection becomes a tool that protects your price instead of a hurdle that threatens your sale.