
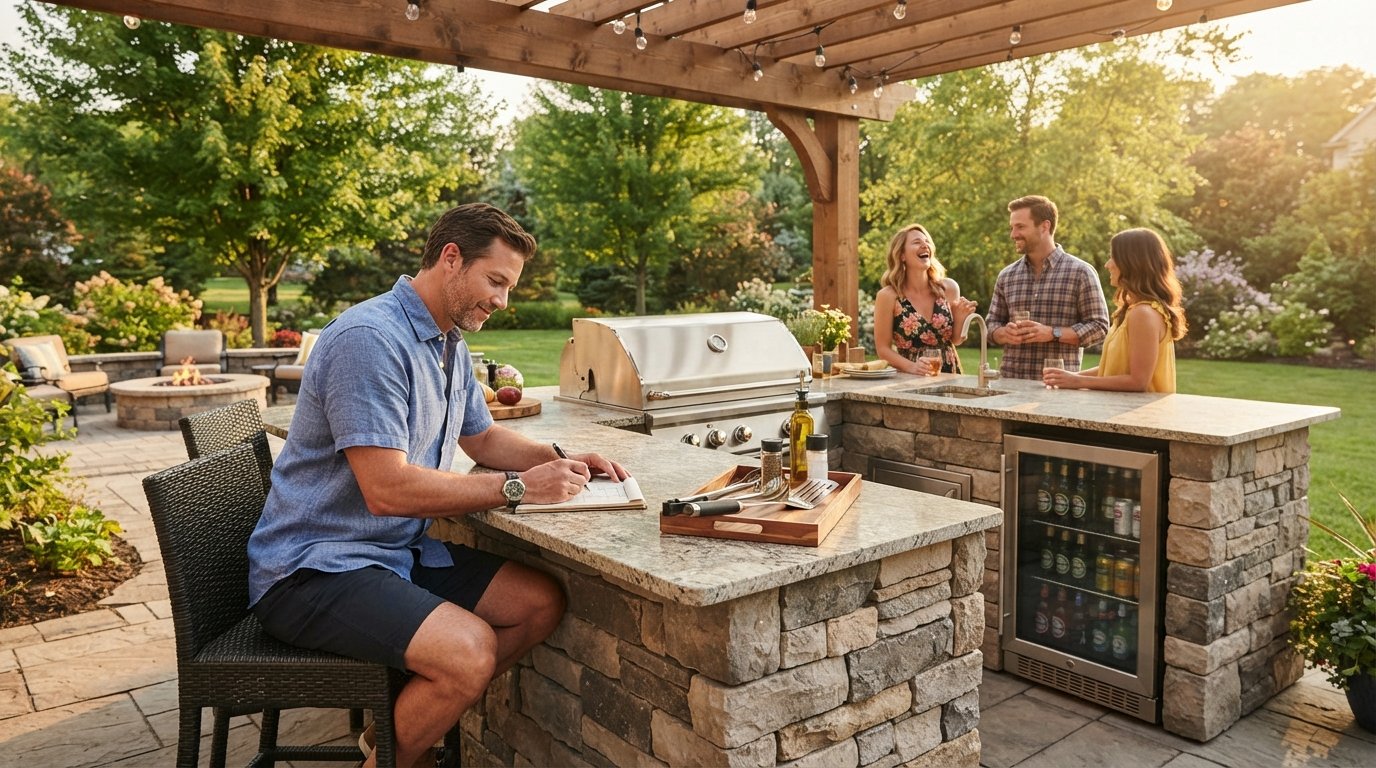
Outdoor Kitchen Design Ideas and Planning Considerations
Plan a backyard kitchen that fits your space and climate. Call (833)-700-4293 for vetted contractor referrals and start with confidence.

By Valerie Reed
Learn more about Kitchen Remodel for guides, costs, and what to expect.
Compare Kitchen Remodel Pros Near You

Enter your ZIP code to compare top-rated local professionals and request free quotes.
An outdoor kitchen can turn a plain patio into the most-used room of the house, but the difference between a weekend project that fizzles and a decade of effortless entertaining comes down to planning. Homeowners often start with a grill and a dream, then discover too late that a gas line runs on the wrong side of the yard, the counter material stains after one summer, or the pergola blocks the very breeze they wanted. This guide walks through the design ideas that work in real backyards and the planning considerations that keep budgets and builds on track. Whether you are sketching a simple modular setup or dreaming of a full built-in pavilion, the goal is the same: a space that fits your climate, your cooking style, and your long-term budget.
Start With How You Cook and Entertain, Not With the Catalog
Before browsing appliance showrooms or Pinterest boards, spend a week observing how your household actually uses the backyard. Do you grill burgers for a crowd on summer weekends, or do you prefer quiet Sunday mornings with a smoker running for hours? The answer shapes everything from counter depth to the number of burners. A family that hosts large gatherings needs wide prep space, a beverage fridge, and a trash drawer within arm's reach. A couple who cooks outdoors a few nights a week may be happier with a compact two-burner setup and a bar sink.
Entertaining style also determines circulation. Guests naturally gather where the cook stands, so plan a buffer zone between the hot zone (grill, side burner, fryer) and the social zone (bar seating, prep island). A common mistake is pushing the grill against a wall and leaving no landing space for platters. Aim for at least 18 inches of counter on each side of any cooking appliance, and more if you routinely cook for groups. Think through the path from the indoor kitchen to the outdoor one as well; a route that crosses a lawn or requires navigating stairs will make late-night cleanup a chore.
Climate is the third input. In hot, humid regions, shade and ventilation matter more than a built-in pizza oven. In colder zones, wind protection and covered work areas extend the usable season by weeks. Coastal homeowners must plan for salt air and corrosion, while dry climates call for materials that resist cracking and fading. Jot down your priorities in three columns: must-have, nice-to-have, and skip. That simple list will keep the design anchored when the options start multiplying.
Built-In vs. Modular Layouts: Match the Structure to the Site
The first major fork in outdoor kitchen design is whether to build permanent masonry or assemble a modular system. Built-in kitchens use concrete block, steel framing, or masonry to create a permanent footprint with finished stone, stucco, or tile. They offer a seamless look, unlimited customization, and the ability to integrate appliances flush with the surround. The trade-offs are cost, permitting, and permanence: moving a built-in grill later means demolition, and utility trenches must be planned before the first block is laid.
Modular kitchens arrive as pre-fabricated cabinets, often made from stainless steel, polymer, or composite panels, that lock together and can be rearranged or relocated. They are faster to install, friendlier to DIY assembly, and easier to take with you if you move. The limitations show up in customization and visual weight; a modular setup may not support a heavy stone counter or a built-in pizza oven without extra reinforcement. Many homeowners blend the two approaches, using modular cabinets for storage and a built-in masonry surround for the grill island.
Site conditions often make the decision for you. A sloped yard, a narrow side patio, or a rental property all favor modular flexibility. A flat, spacious lot with a long-term horizon favors built-in construction. Either way, utilities limit placement more than aesthetics do. Gas lines, electrical conduit, and water supply are expensive to move once installed, so the appliance layout should be finalized only after a contractor maps where those lines can realistically run. If you are unsure which layout suits your property, a site visit from a qualified outdoor living contractor can save thousands in rework.
Weather-Resistant Materials for Counters, Cabinets, and Flooring
Outdoor materials take a beating that indoor finishes never face: UV exposure, freeze-thaw cycles, rain, salt spray, and grease. The most common regret among outdoor kitchen owners is choosing a counter that looked beautiful in the showroom but stains, etches, or cracks within two seasons. Knowing how each material behaves in your climate is the single best defense against that outcome.
- Granite and natural stone: Durable and heat-resistant, but some porous stones absorb stains and need annual sealing; freeze-thaw climates can cause hairline cracks.
- Concrete: Fully customizable in shape and color, but requires sealing and can crack; excellent for modern designs when properly reinforced.
- Stainless steel: Hygienic, heat-tolerant, and ideal near grills, but scratches and shows fingerprints; choose marine-grade for coastal homes.
- Porcelain and sintered stone: Non-porous, UV-stable, and highly scratch-resistant; a strong choice for humid or coastal climates, though edges can chip.
- Tile: Budget-friendly and available in many styles, but grout lines collect grease and require regular cleaning.
Cabinet materials follow similar logic. Stainless steel cabinets resist moisture and pests but can dent and heat up in direct sun. Polymer and composite cabinets mimic wood or painted finishes without rot, and they handle humidity well. Natural wood cabinets require annual sealing and still weather over time, so they suit covered kitchens better than exposed ones. For flooring, choose materials with texture for slip resistance: pavers, stamped concrete, and porcelain tile all work when sealed and properly sloped for drainage. Avoid smooth polished surfaces near the grill and sink, where spills are routine.
Plan Gas, Electrical, and Water Lines Before You Build
Utilities are the invisible skeleton of an outdoor kitchen, and retrofitting them after construction is the most expensive mistake in the project. Start with a call to your local building department to understand permit requirements and setback rules, then bring in licensed trades to assess capacity. A natural gas line is typically the most cost-effective fuel source if your home already has service, but the run from the meter must be sized for the appliances you plan to use. Propane is the alternative for homes without gas service, requiring a tank and refill plan; buried tanks and above-ground cylinders each have placement rules.
Electrical needs go beyond lighting. Modern outdoor kitchens often include refrigerators, ice makers, rotisserie motors, sound systems, and charging outlets. All outdoor receptacles require GFCI protection, and any appliance exposed to weather needs a rating appropriate for the location. Plan for more circuits than you think you need, and locate the panel or a subpanel where it can be reached without walking through the cooking zone. Water supply is optional but valuable for sinks and ice makers; a frost-free hose bib or dedicated line with a shut-off valve inside the house simplifies winterizing in cold climates.
Sequence matters. Finalize the appliance list, then have a plumber, electrician, and gas fitter review the plan before the foundation is poured. A reputable contractor will coordinate these trades and pull the required permits; homeowner associations and local codes may add restrictions on noise, smoke, and structure height. If you need help finding vetted professionals in your area, directory resources like Homes.Contractors connect homeowners with pre-screened specialists for gas, electrical, and hardscape work, which reduces the risk of hiring an unqualified crew for the technical parts of the build.
Shade, Cover, and Ventilation for Year-Round Use
An uncovered outdoor kitchen is a seasonal amenity; a well-covered one becomes a genuine extension of the home. Shade options range from freestanding umbrellas and cantilever umbrellas (flexible and affordable) to pergolas (open slats, adjustable louvers, or solid roofs) and full pavilions with integrated lighting and fans. The right choice depends on sun direction, prevailing winds, and whether you want protection from rain or just from glare. In hot climates, a solid roof with a ceiling fan moves air and drops the perceived temperature significantly.
Ventilation deserves special attention whenever the kitchen sits under a roof or against a wall. Grills produce smoke, grease-laden vapor, and carbon monoxide, so a fully enclosed outdoor kitchen needs professional hood ventilation and make-up air, just like an indoor one. Even semi-enclosed designs benefit from cross ventilation and a hood over high-output grills. Never enclose a grill in a sealed room without consulting a professional; the fire and health risks are real.
Wind is the other invisible factor. A pergola with adjustable louvers can block a prevailing breeze that would otherwise snuff out burners or blow smoke into seating areas. Conversely, in still, humid climates, open structures with fans work better than solid roofs that trap heat. Think about the sun's path at the hours you cook most, then place the grill so the cook faces guests rather than the setting sun. These small orientation decisions make the space comfortable on day one and for years after.
Budget Breakdown and Contractor Vetting
Outdoor kitchens vary enormously in cost, from a few thousand dollars for a modular grill station to well over $50,000 for a built-in pavilion with premium appliances. Most of the budget lands in four buckets: structure and hardscape, appliances, utilities, and finishes. As a rough planning framework, homeowners commonly allocate about 30 to 40 percent to structure and countertops, 20 to 30 percent to appliances, 15 to 25 percent to utilities and site work, and the remainder to lighting, shade, and landscaping. Coastal, sloped, or remote sites push utility and site work costs higher.
Getting comparable quotes is the most reliable way to control costs. Request at least three bids that itemize labor, materials, permits, and contingency, and ask each contractor how they handle change orders. Verify licensing, insurance, and references for projects similar to yours, and confirm who pulls the permits. Because outdoor kitchens combine hardscape, plumbing, electrical, and gas work, you may need a general contractor or an outdoor living specialist who coordinates multiple trades rather than a single-trade crew.
If you are also refining the indoor side of your home, it helps to see how exterior living spaces connect to broader design trends; our guide on 2027 kitchen design trends driving remodeling choices covers material and layout directions that translate well to outdoor spaces. PlanRemodel's directory can help you compare pre-vetted local contractors and request multiple free estimates, so you can weigh bids side by side before committing. Build a 10 to 15 percent contingency into the budget, and decide in advance which upgrades you would cut if costs climb.
Finally, think beyond installation. A simple maintenance routine (covering the grill, sealing stone annually, winterizing water lines, and cleaning grease filters) protects the investment and keeps the space ready for spontaneous gatherings. With the layout, materials, utilities, and budget aligned before construction begins, an outdoor kitchen becomes exactly what it should be: a low-stress place to cook, gather, and enjoy the yard for years to come.